


GPT – Generative Pre-trained Transformer family of models, somehow, changed and have been changing the way of interactions with Computer or App systems. A lot of companies have been developing their GPT models trained on various types of datasets. ChatGPT was the one who started the revolution, innovation, and competition in generating human-like text in a conversational style. The training of such model requires a lot of resources. Thanks to ChatGPT for their ChatGPT API using which one can create his own ChatBot Assistant in his App. Let’s look into the steps required for implementation together.
How to Implement ChatGPT API in python:
1. Create a ChatGPT Account:
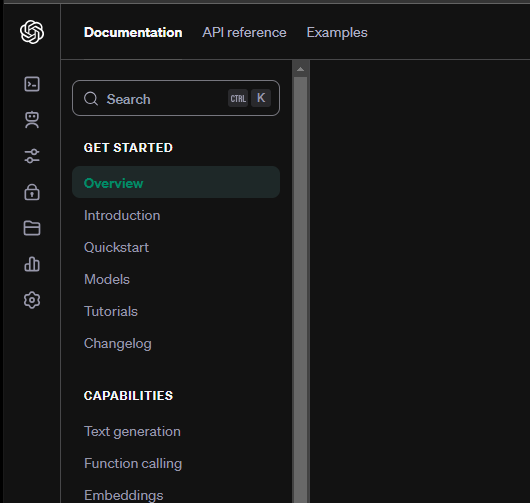
Visit OpenAI website, https://platform.openai.com. After that, Create your OpenAI account for free. After logging into your account, at the left section of the website, click on OpenAI symbol as shown in above figure.
2. Generate an API Key:
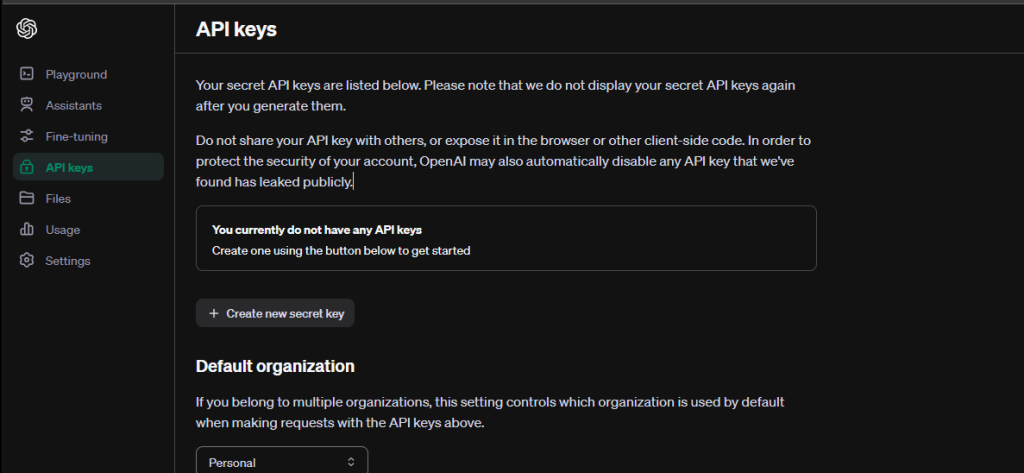
- The next step is to generate an API key. After completing the first step, navigate to the API section and click on “Create new Secret Key”. Also, this creates a secret key for you, which is your API key that will be used to interact with ChatGPT trained model to get answers from it.
- You can read about API documentations here, API Documentation ChatGPT.
3. Import Python Library and Set-up API Key:
import requests

api_secret_key = "generated_secret_key or api_key"
chatgpt_api = "https://api.openai.com/v1/chat/completions"

headers = {
    "Authorization": f"Bearer {api_secret_key}",
    "Content-Type": "application/json",
}
Next step is to authorize our communication with ChatGPT API. In order to do this, we shall use our api_key, which we generated in API section. With this, we also need the URL through which we interact to send and receive data in JSON form to and from trained model of OpenAI.
3. Make API Requests:
data = {
    "model": "chatgpt-3.5-turbo",
    "messages": [
        {"role": "system", "content": "You are a helpful assistant."},
        {"role": "user", "content": "What is Artificial Intelligence?"},
    ],
}

response = requests.post(chatgpt_api, json=data, headers=headers)
After this, the next step is to create API request in your App. In this step, you shall receive data from the user of an app. Moreover, you need to arrange this data under “messages” key. Also, you have to mention which ChatGPT model you would like to use. In addition to this, you have to create “role” and “content” sub-keys under “messages” key to let API know that under which role you come to.
4. Get a Response and Handle Responses:
if response.status_code == 200:
    result = response.json()
    generated_text = result["choices"][0]["messages"]["content"]
    print(generated_text)
else:
    print(f"Error: {response.status_code} - {response.text}")
At this stage, we have sent our question in JSON format to OpenAI API. Additionally, we are due to receive a response from API. This can be done using above code.
Conclusion:
OpenAI API made implementation of conversation AI Chatbot in your App a lot easier. Moreover, OpenAI offers text-to-speech, Image generation, speech-to-text functionality with its API. And, that can be used to make your App or Software more smarter.

